Editing Portraits in Lightroom: The 6-Step Workflow That Makes Every Photo Look Professional
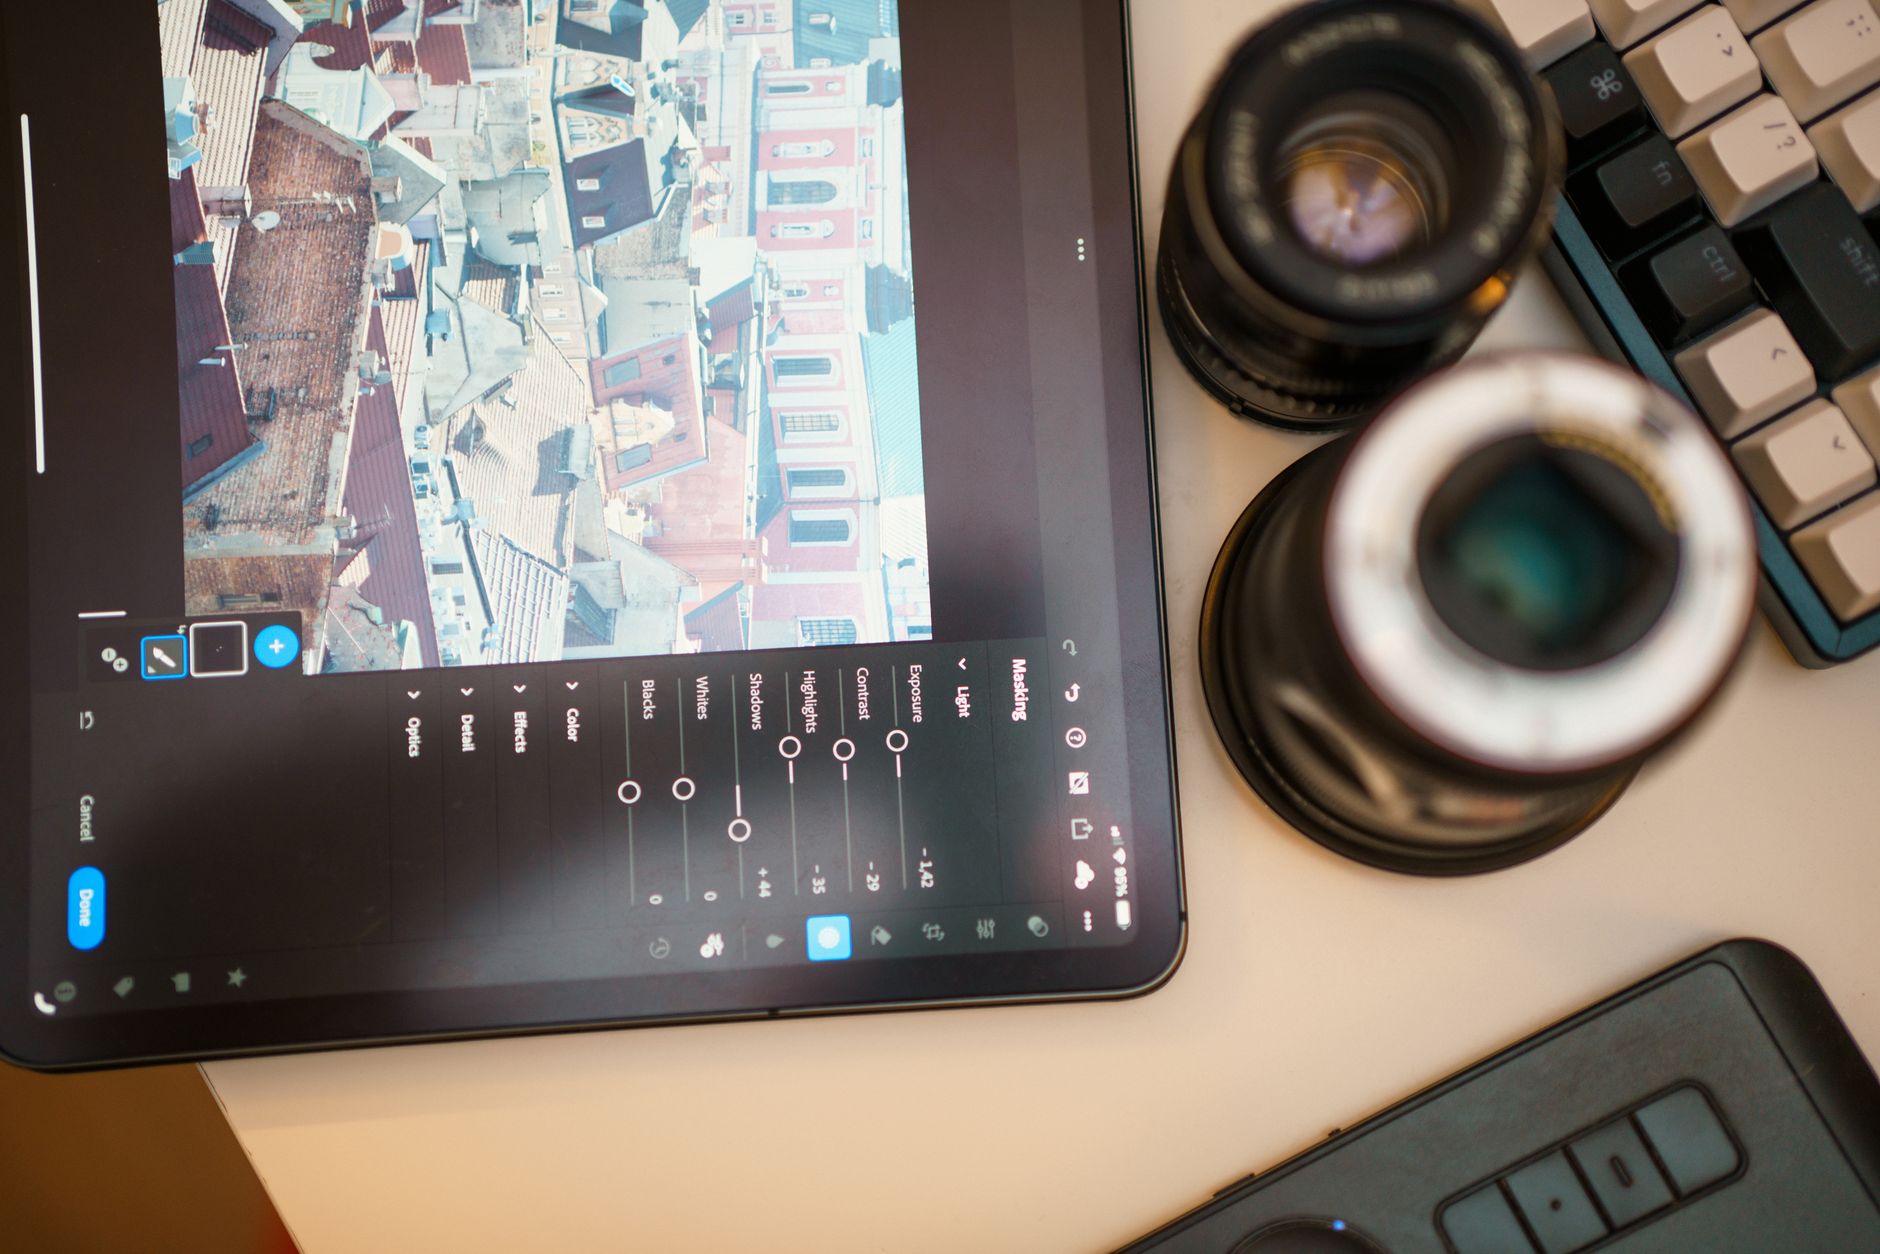
Editing is where portrait photography often goes wrong — over-processed skin that looks plastic, colors that look nothing like reality, eyes brightened to the point of looking alien. Good portrait editing is invisible — it makes the subject look like the best version of themselves in the best possible light, not like they've been Photoshopped. Here is the specific 6-step Lightroom workflow that produces consistently professional results.
Step 1: Exposure and White Balance — Get the Foundation Right
Start by correcting the basic exposure — raise or lower exposure until the face is properly lit (not blown out on highlights, not muddy in midtones). Check the histogram; highlights on faces should sit in the bright zone but not clip. White balance correction is the next priority — use the eyedropper on a neutral surface in the image (white shirt, gray card if you shot one) or manually adjust temperature and tint until skin tones look natural. Incorrect white balance makes all subsequent skin tone adjustments harder.
Step 2: Tone Curve for Contrast and Mood
The tone curve gives you control over contrast in different tonal ranges. The most flattering portrait curve: a gentle S-curve that slightly lifts shadows (keeping the image from going fully black in the darkest areas) and slightly reduces highlights (keeping bright skin areas from appearing blown out). This produces a soft, flattering contrast that doesn't introduce harsh shadows on the face. Avoid strong S-curves for portrait work — they tend to produce unflattering contrast that emphasizes skin texture.
Steps 3-6: HSL, Skin Retouching, Eye Enhancement, and Export
The HSL panel (Hue, Saturation, Luminance) is the most powerful tool for skin tone correction. The Orange and Red sliders control most skin tones — slightly reduce orange saturation if skin appears too orange, increase orange luminance to brighten skin without affecting other colors. Remove blemishes with the Spot Removal tool using minimal opacity (40-60%) to reduce but not eliminate texture. Brighten eyes by masking just the white and iris with the Radial Filter and adding +0.3-0.5 exposure. Export at full resolution as JPEG (90-95% quality) for sharing, keeping a lossless master file (original RAW or exported TIFF) for any future editing.
Honest Bottom Line: Good portrait editing is invisible — the goal is the best version of the subject in the best possible light, not obvious processing. Fix exposure and white balance first — incorrect white balance makes all subsequent adjustments harder. Use a soft S-curve for flattering contrast; avoid strong curves that emphasize skin texture. HSL Orange/Red sliders control most skin tones — small adjustments produce significant results. Blemish removal at 40-60% opacity reduces without eliminating natural texture. Eye brightening should be subtle — 0.3-0.5 stops maximum to avoid the artificial look.